I think it’s a misconception that destination weddings make it impossible to incorporate DIY projects. Of course, it’s easier if your flight has a flexible baggage policy or if you are within driving distance of Las Vegas, but there are still many ways to incorporate handmade, heartfelt details into your wedding day, whether you are coming as far as Sydney, Australia or Sydney, Nova Scotia!
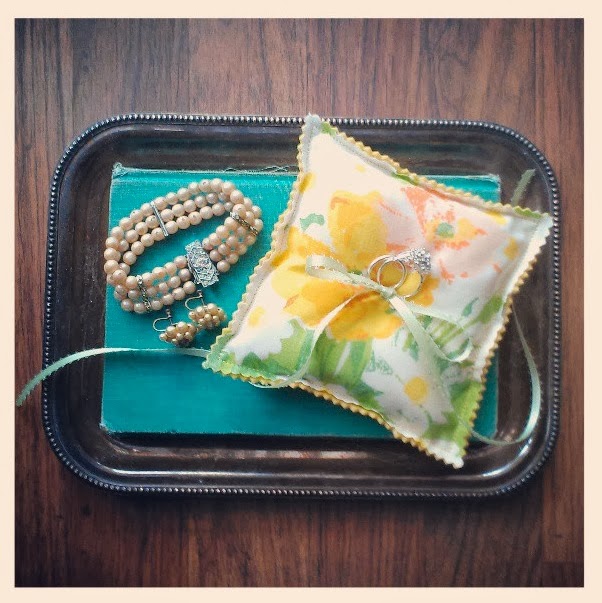
Today’s DIY ring pillow tutorial from Veronica of Nostalgia Resources (see her tutorial for an antique seating chart!) is an easy way to bring in a handmade detail to your destination wedding.
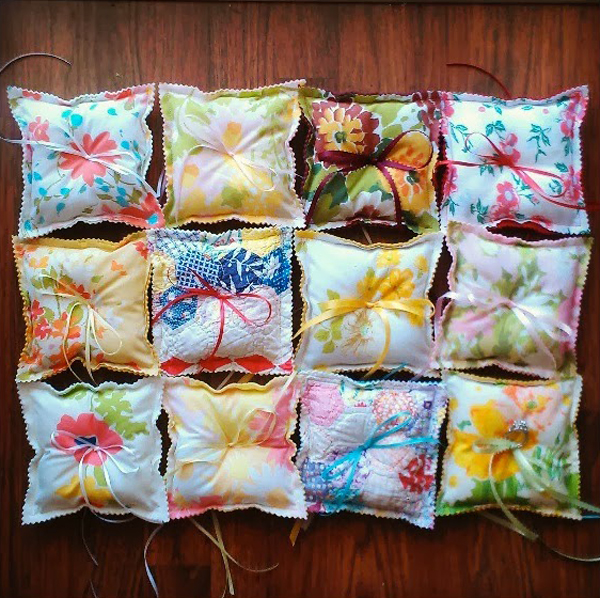
They’re tiny, cute and you are only limited in your customization in terms of colors and fabric. Just have a look on Etsy, around your home or in a local fabric or craft shop for the right material for you, your style and wedding colors or theme.
And if you don’t think you have a sewing bone in your body like me, Nostalgia has many pre-made ring pillows available in their online shop! I’ll let Veronica take it away, below…
You Will Need
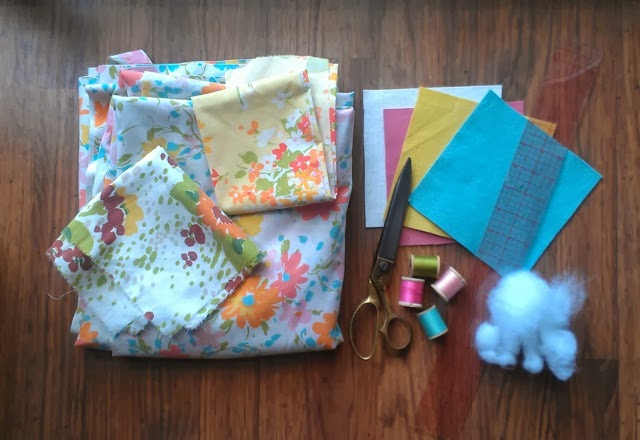
- vintage or new fabric (try Etsy or use leftover dress fabric following alterations!)
- felt (wool felt is best)
- polyester filling batting
- button (optional)
- ribbon
- thread
- ruler
- scissors
- fabric marker
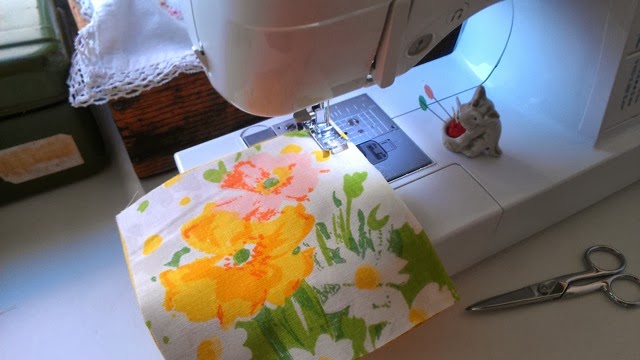
Cut a square of the fabric and a square of a coordinating piece of felt in the same size. Mine are 6×6 inches.
Now the question is: sew by hand or sew with a machine? Either one is perfectly fine; the pillows are small so it is not going to take much time to sew by hand.
Step Two
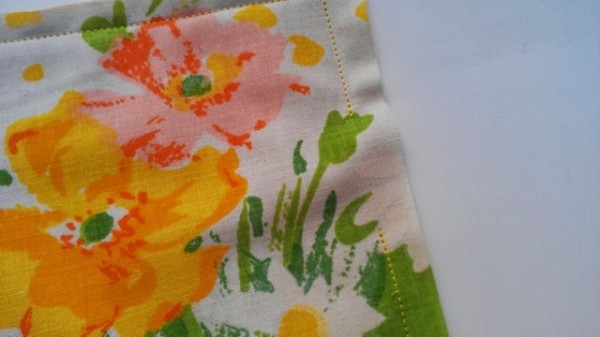
Join the two squares together with opposing sides facing by sewing around them, leaving a 5/8 seam allowance. Leave a small hole of approximately 2 inches to allow you to insert the filling, as seen below:
Steps Three + Four
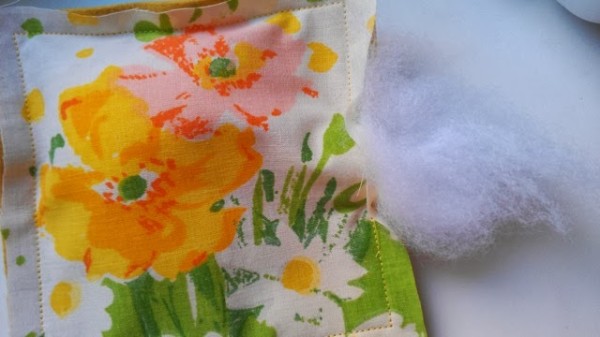
Poke in the filling, then sew the opening shut and trim the edges with pinking shears (so the fabric doesn’t fray.)
Step Five

Mark the center of the back and front of the pillow with a fabric marker (this is where you are going to sew the ribbon detail.)
Step Six
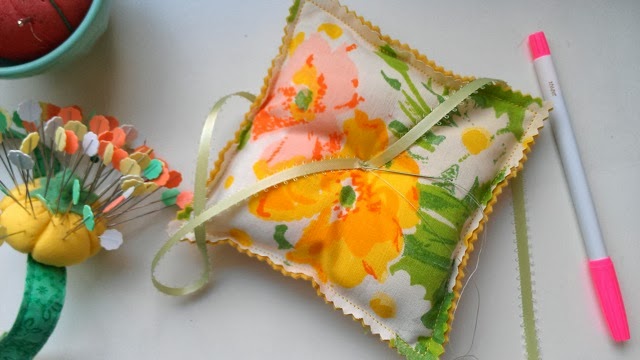
Cut the ribbon to the desired length (remember it needs to be long enough to tie the rings with it) and place it on the top part to the pillow, sew it through all the layers.
Step Seven (if desired)
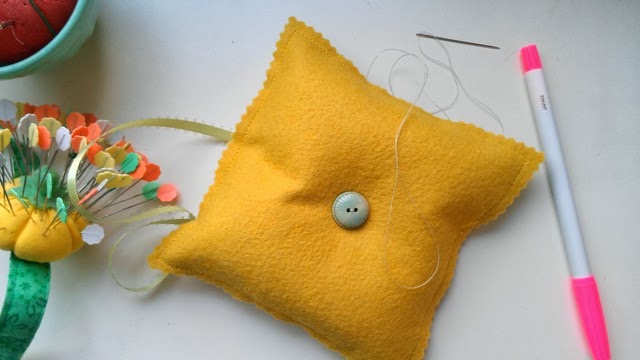
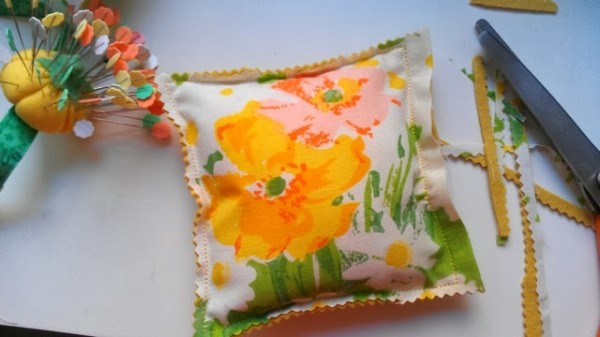
Now, for the back I added a vintage button as I think it looks more finished that way, but you can skip the button if you like.
Voilà ! Your custom ring pillow is ready! Enjoy your creation and your wedding!